
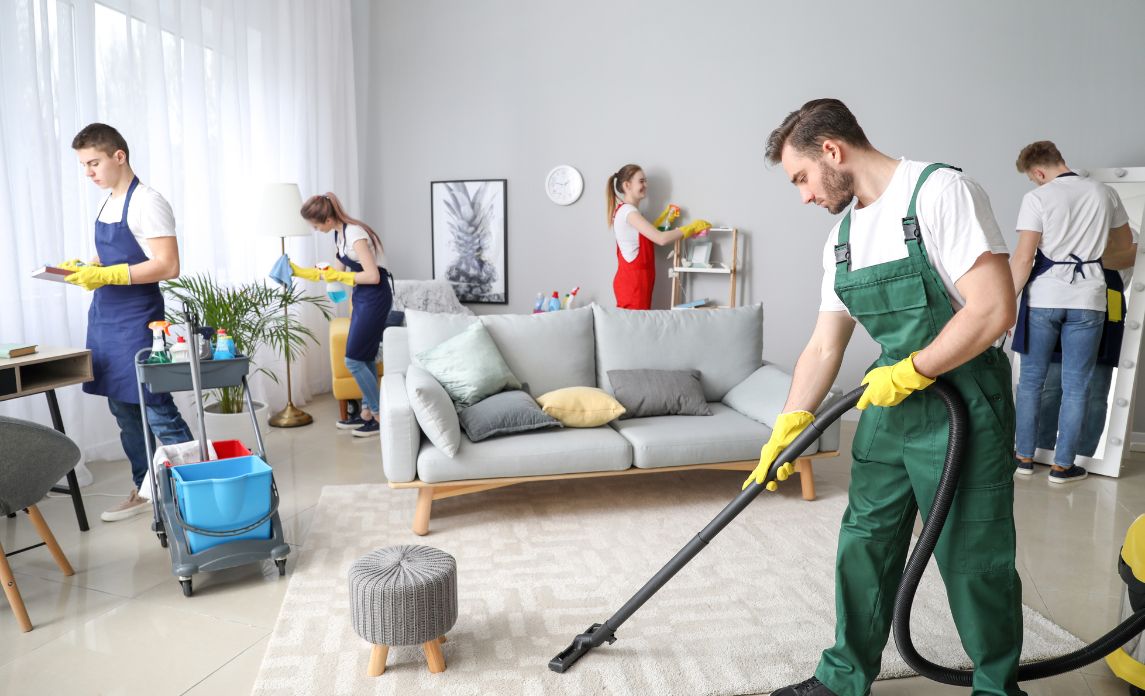

Maintaining a clean home can feel like a constant battle against time, especially when juggling professional commitments, family responsibilities, and daily errands. While surface cleaning keeps daily clutter at bay, built-up grime, hidden dust mites, pet dander, and grease inevitably accumulate in overlooked areas. A thorough deep clean restores your living environment, improves indoor air quality, and protects your long-term investment in your home.
Executing a successful deep clean does not require sacrificing an entire weekend in a state of exhaustion. By adopting a structured room-by-room system and using the right tools, busy homeowners can systematic tackle heavy-duty cleaning tasks efficiently. This comprehensive guide outlines an actionable checklist designed to maximize results with minimum wasted effort.
Essential Preparation and Strategic Planning
Before picking up a spray bottle or vacuum, thorough preparation is critical. Attempting to deep clean without proper organization leads to repeated steps, wasted movement, and unnecessary frustration.
-
Gather Specialized Supplies: Equip yourself with high-density microfiber cloths, an extendable duster, a vacuum equipped with a HEPA filter, a grout brush, a squeegee, baking soda, white distilled vinegar, an enzymatic cleaner, and quality rubber gloves.
-
Declutter First: Cleaning around stacks of paper, unsorted laundry, or stray toys slows progress down significantly. Clear all flat surfaces before applying any cleaning solutions.
-
Follow the Top-to-Bottom Rule: Gravity dictates that dust and debris fall downward during cleaning. Always start with ceiling fixtures, upper crown molding, and top shelves before tackling countertops, furniture, and floors.
-
Adopt the Clockwise Strategy: When entering any room, work systematically in a single direction around the perimeter. This ensures no section or corner is accidentally skipped.
Whole-House Deep Cleaning Tasks
Certain structural features exist in every room of the home. Addressing these elements across all spaces establishes a foundational level of cleanliness before diving into specialized zones.
Ceilings, Lighting, and Air Vents
-
Dust High Corners: Use an extendable microfiber duster to remove cobwebs from ceiling corners, tray ceilings, and crown molding.
-
Clean Ceiling Fans: Slide a pillowcase over each fan blade to trap falling dust as you pull it back, then wipe the blades with a damp cloth and mild detergent.
-
Disinfect Light Fixtures: Remove glass shades or covers, wash them in warm soapy water, dry completely, and wipe down light bulbs and fixture bases.
-
Vacuum HVAC Vents: Unscrew register covers and vacuum dust from duct openings. Wash return vents in warm water to clear airflow blockages.
Walls, Doors, and Architectural Details
-
Wipe Down Baseboards: Vacuum accumulated dust along baseboard edges, then wipe trim down using warm water mixed with a few drops of dish soap or castile soap.
-
Sanitize High-Touch Surfaces: Clean interior door handles, cabinet knobs, light switch plates, and door frames using a microfiber cloth dampened with a disinfectant solution.
-
Spot-Clean Walls: Inspect walls near entryways, light switches, and kitchen prep zones for scuffs, fingerprints, or splatters. Remove them gently with a damp eraser sponge or microfiber towel.
Windows, Treatments, and Flooring
-
Clean Window Tracks and Sills: Vacuum loose dirt out of window tracks, spray with an all-purpose cleaner, scrub corners with an old toothbrush, and wipe clean.
-
Wash Glass and Mirrors: Spray glass cleaner or a diluted vinegar solution onto window panes and mirrors, wiping with a lint-free microfiber cloth or squeegee for a streak-free finish.
-
Launder or Vacuum Window Coverings: Wash fabric curtains according to care labels or use an upholstery attachment to vacuum heavy drapes and window blinds from top to bottom.
-
Deep Clean Flooring and Grout: Vacuum carpets with slow, overlapping strokes to extract embedded dirt. Scrub tile grout lines with a stiff-bristled brush and an enzymatic cleaner before mopping hard surfaces thoroughly.
The Kitchen Deep Cleaning Protocol
The kitchen requires rigorous attention due to food grease, humidity, and high bacterial activity. A systematic deep clean targets both visible surfaces and internal appliance mechanics.
Major Appliance Overhaul
-
Refrigerator and Freezer Maintenance: Pull out the unit to vacuum dust from the exterior coils underneath or behind it. Discard expired food items, remove interior shelves, wash them in warm soapy water, and wipe down interior walls.
-
Oven and Stovetop De-Greasing: Apply a baking soda paste or specialized oven cleaner to interior oven walls, allowing it to sit for several hours before scrubbing away burnt food residue. Remove stove knobs, burner grates, and filter screens to soak in degreasing soap.
-
Dishwasher Restoration: Remove the lower rack to clean food particles out of the drain filter screen. Place a bowl filled with white vinegar on the top rack and run a hot cycle to eliminate mineral scale and grease.
-
Microwave Sanitization: Heat a bowl of water mixed with lemon slices on high power for three minutes to steam open hardened splatters, allowing you to wipe interior walls clean effortlessly.
Cabinetry, Countertops, and Sink
-
Empty and Wipe Cabinets: Clear out pantry shelves and upper cabinets. Wipe down interior surfaces to remove crumbs and dust before reorganizing items.
-
Degrease Cabinet Exteriors: Clean grease accumulation from cabinet doors, particularly around handles and above the stovetop, using a wood-safe degreaser.
-
Disinfect Countertops and Backsplash: Scrub grout lines along backsplashes, remove countertop appliances to clean underneath, and apply appropriate sealants or polish to natural stone surfaces.
-
Deep Clean the Sink Basin: Scrub stainless steel, porcelain, or composite sinks with a gentle abrasive cleaner. Sanitize the faucet, sprayer, and drain flanges, then flush the garbage disposal with ice cubes and citrus peels.
Bathroom Sanitation and Scale Removal
Bathrooms accumulate soap scum, mineral deposits, and moisture-related grime quickly. A thorough deep clean restores shine and ensures hygienic conditions.
-
Descale Showerheads and Faucets: Fill a plastic bag with white vinegar, submerge the showerhead, and secure it with a rubber band overnight to dissolve mineral blockages.
-
Eradicate Shower Soap Scum: Apply a heavy-duty bathroom cleaner or a vinegar-and-dish-soap mixture to glass shower doors, tile walls, and tub surrounds. Let it sit for fifteen minutes before scrubbing and rinsing thoroughly.
-
Disinfect the Toilet: Spray the entire exterior of the toilet, including the base, tank, behind the bowl, and bolt covers, with disinfectant. Scrub the interior bowl thoroughly with a toilet brush and specialized cleaner.
-
Clean Vanity Drawers and Medicine Cabinets: Empty medicine cabinets and vanity drawers, discard expired medications or toiletries, and wipe down drawer organizers and shelf linings.
-
Clear Exhaust Fans: Remove the cover of the bathroom exhaust fan, vacuum built-up dust from the motor assembly, wash the cover plate, and reattach.
Bedroom and Living Area Refresh
Bedrooms and living rooms are centers for relaxation, making indoor air quality and comfort top priorities during a deep cleaning session.
-
Mattress Sanitization: Strip all bedding, including mattress protectors and pillow covers. Vacuum the bare mattress surface thoroughly, spot-treat stains, sprinkle with baking soda to absorb odors, and vacuum after thirty minutes.
-
Rotate and Flip Mattresses: Rotate the mattress one hundred eighty degrees or flip it over if applicable to ensure even wear and prevent sag.
-
Clean Under Heavy Furniture: Use furniture sliders or a partner to move sofas, armoires, dressers, and beds. Vacuum and mop the long-neglected floor space hidden underneath.
-
Vacuum Upholstery and Cushions: Remove sofa and armchair cushions to vacuum debris lodged in frame crevices. Vacuum cushion surfaces and spot-treat fabric stains.
-
Dust Electronics and Cables: Use anti-static microfiber cloths to wipe down television screens, gaming consoles, and sound systems. Organize tangled power cords and vacuum dust behind media centers.
Laundry Room and Utility Maintenance
Utility spaces support the rest of the home and require routine maintenance to function safely and efficiently.
-
Washing Machine Cleaning: Run a hot cycle with washer cleaning tablets or white vinegar. Wipe down rubber door gaskets on front-loading machines to remove trapped moisture and mold spores.
-
Dryer Lint Duct Cleaning: Vacuum the lint screen slot using an extended narrow hose attachment. Disconnect the rear dryer vent duct annually to clear trapped lint and reduce fire hazards.
-
Wipe Down Utility Surfaces: Clean the exterior surfaces of the washer and dryer, wipe down utility sinks, and organize laundry detergent shelves.
Time-Saving Execution Strategies for Busy Schedules
Completing a entire deep clean in a single day is rarely feasible for homeowners with demanding schedules. Adopting a flexible workflow keeps the project manageable.
-
The Zone Method: Divide your house into distinct zones (such as kitchen, primary bathroom, or bedrooms) and schedule one zone per weekend or evening block.
-
The High-Impact Sprint: If short on time, focus exclusively on high-impact areas that yield immediate visual and hygienic improvements: kitchen appliances, bathroom tile, baseboards, and window tracks.
-
Maintain Between Deep Cleans: Implement daily ten-minute tidy-ups and regular weekly surface maintenance to extend the results of your deep clean and prevent heavy buildup from returning quickly.
Frequently Asked Questions
How often should a home undergo a complete deep clean compared to routine maintenance?
Most residential homes benefit from a full deep clean every three to six months. While routine weekly cleaning handles surface dust, trash removal, and floor maintenance, seasonal deep cleaning addresses built-up grime, HVAC dust accumulation, and neglected appliance interiors. Homes with pets, children, or allergy sufferers may require deep cleaning every three months to maintain healthy indoor air quality.
What is the most effective way to remove hardened mineral deposits from glass shower doors without scratching?
A mixture of equal parts white distilled vinegar and dish soap applied with a non-abrasive microfiber sponge is highly effective for removing stubborn glass haze. Allow the liquid solution to dwell on the glass for fifteen to twenty minutes to break down calcium deposits before scrubbing gently and rinsing with warm water. Using a squeegee daily after showers prevents future mineral buildup.
Should carpets be steam cleaned before or after dusting walls and furniture?
Carpets should always be steam cleaned or vacuumed after dusting walls, ceiling fixtures, and furniture. Dust, cobwebs, and particulate matter fall directly downward onto floor surfaces during high-level cleaning. Vacuuming and deep cleaning carpets as the final step prevents recontaminating freshly scrubbed floor coverings.
How do you properly clean refrigerator condenser coils without damaging the appliance?
First, unplug the refrigerator or turn off its circuit breaker for safety. Locate the coils, which are typically found behind a bottom front grille or on the back panel. Use a long, flexible condenser coil brush to loosen dust and pet hair gently, then vacuum the debris with a narrow hose attachment before replacing the cover panel and restoring power.
What is the safest method to remove buildup from wood baseboards and trim?
To clean wood baseboards safely without dulling the finish, vacuum loose dirt along the trim first. Then, wipe the wood down using a soft microfiber cloth lightly dampened with a mixture of warm water and a few drops of mild dish soap or wood-safe cleaner. Dry the baseboards immediately with a towel to prevent moisture from warping the wood.
How can homeowners eliminate persistent odors coming from a front-loading washing machine gasket?
Front-loading washer gaskets trap moisture, detergent residue, and lint, creating an environment ripe for mold growth. Wipe the folds of the rubber seal thoroughly with a cloth soaked in equal parts warm water and white vinegar or a diluted bleach solution. Leave the washing machine door propped open between laundry loads to allow the drum and gasket to dry completely.
How does a HEPA filter vacuum improve the longevity of home furnishings during a deep clean?
High-Efficiency Particulate Air (HEPA) filters capture microscopic particles down to 0.3 microns, including dust mites, pollen, pet dander, and fine grit. Standard vacuum filters often redistribute fine dust back into the room’s air. By trapping abrasive grit completely, HEPA vacuums prevent fine particles from scratching hardwood finishes, dulling fabric fibers, or degrading carpet backings over time.

Comments are closed.